This was a project that started off in university and ended up being quite ambitious, I learned a lot from it though and decided to revisit the concept in 2024 with the knowledge that I had built up from working in Unreal in the industry.
This plugin involved developing particle systems, custom materials and material layers and wrapping it all up in a user friendly blueprint tool.
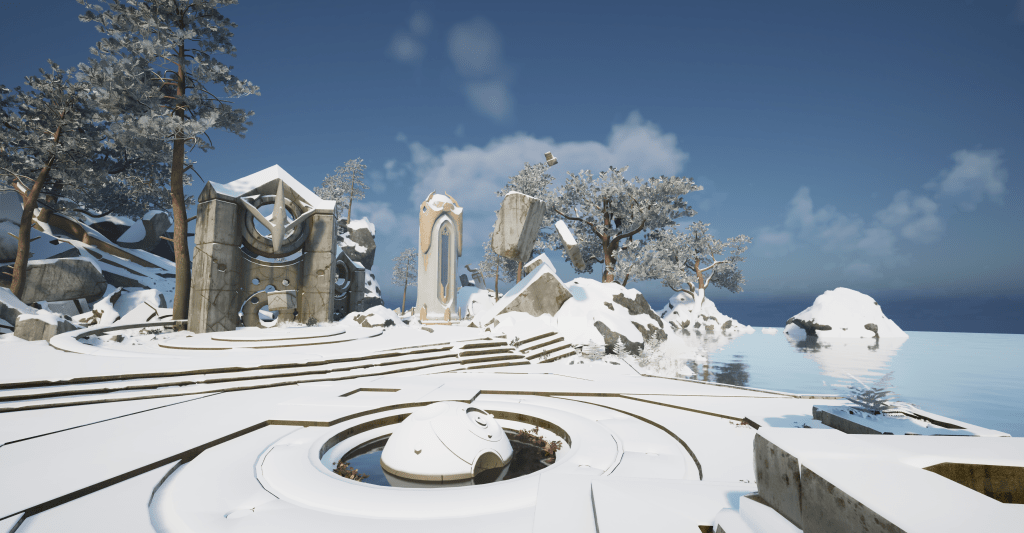
The main components of the plugin are the precipitation, clouds, and wind.
Rain
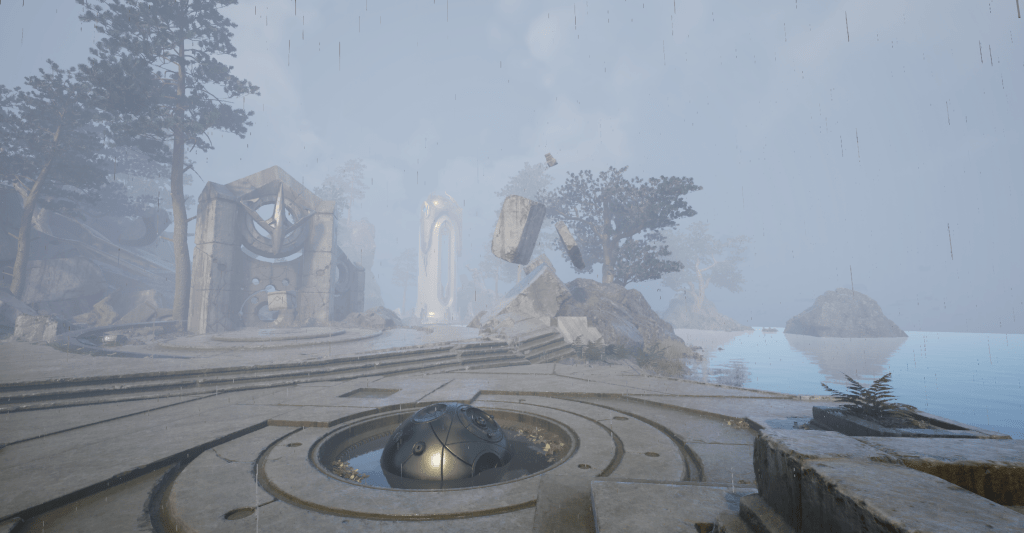
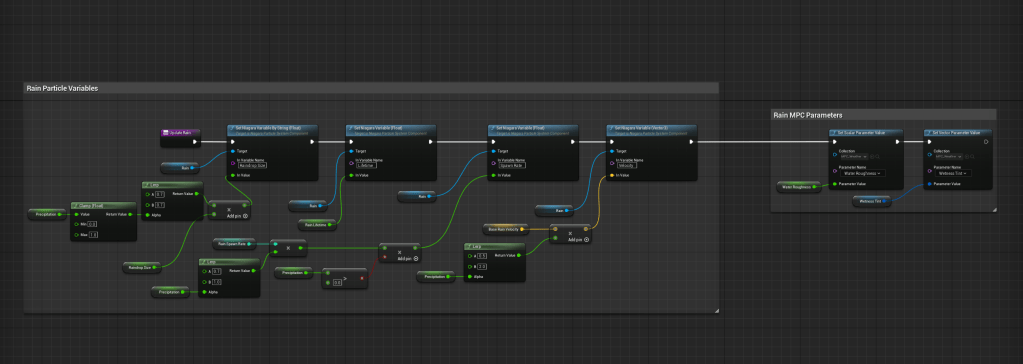
Achieving rain through particle system as very simple in concept, but there are major performance concerns with spawning that many particles. The particle is a simple quad that falls down and scales by speed, using an unmasked quad saves the performance cost of using a masked material and with the speed they are travelling and anti aliasing, they look just like raindrops anyway. The raindrop material is opaque, with light grey diffuse, very low roughness and normals facing up. This gives them a soft lighting that I think looks most similar to real life rain both in and out of direct light.
Snow
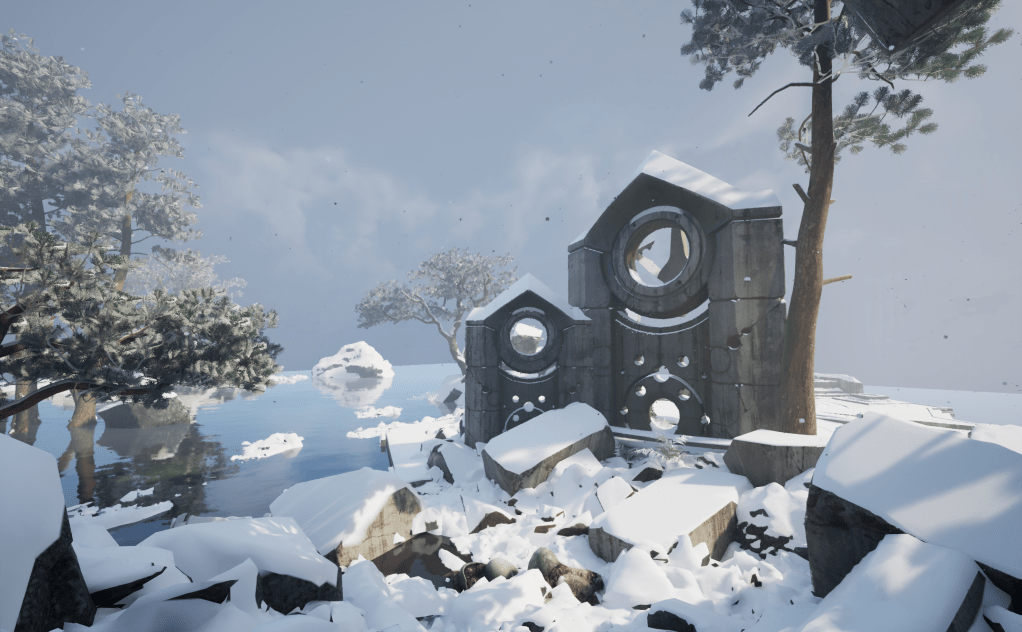
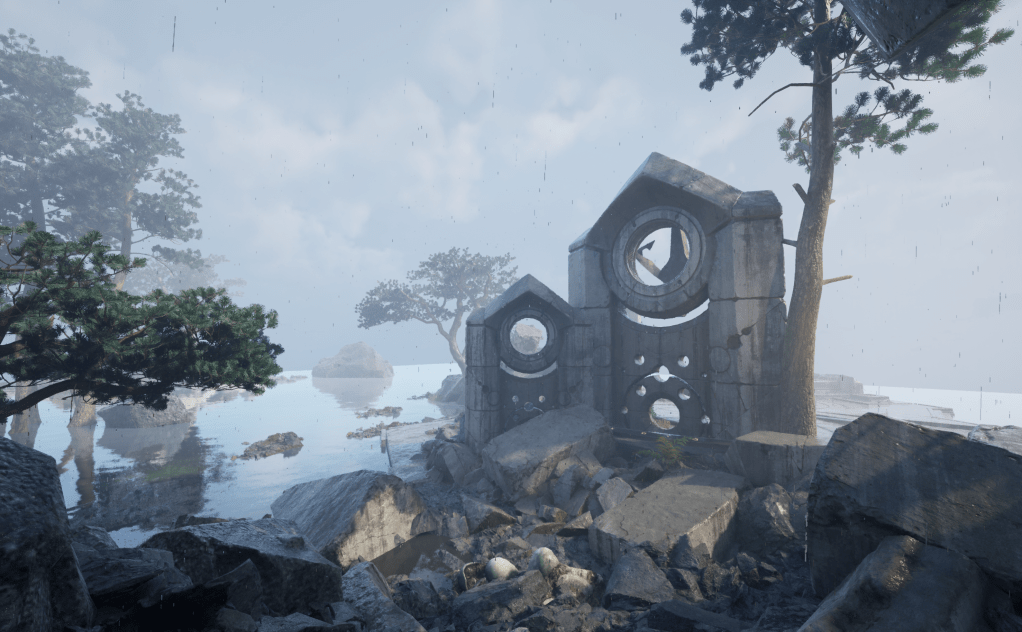
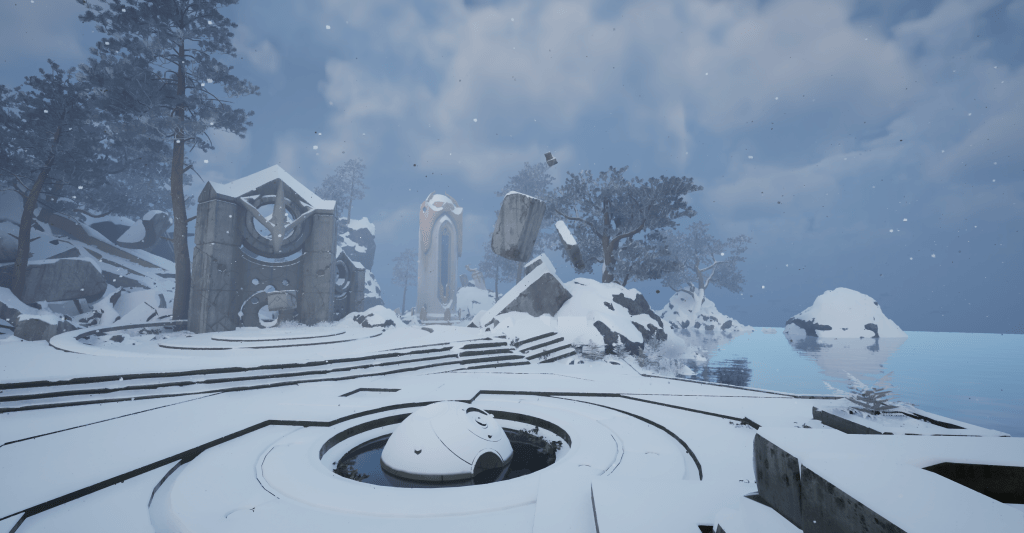
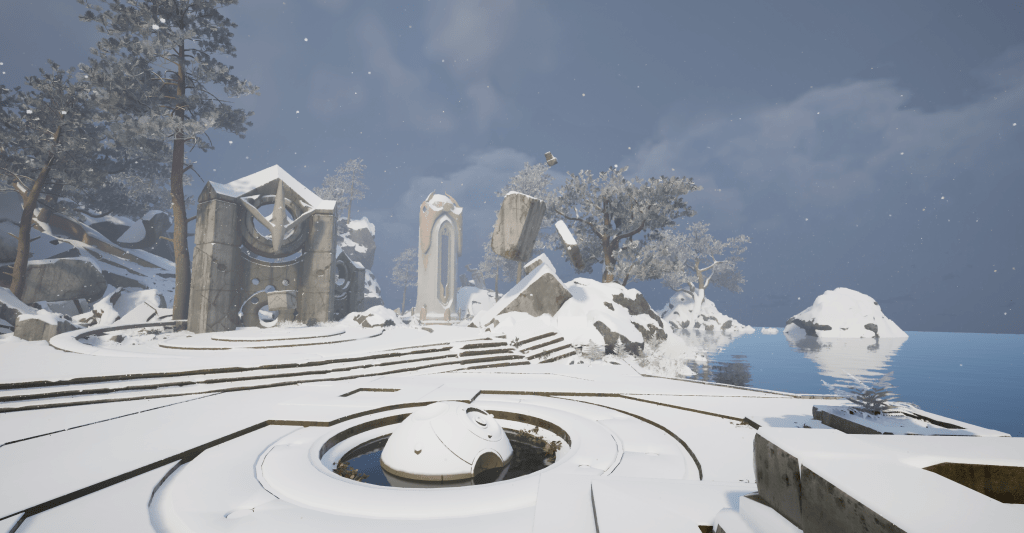
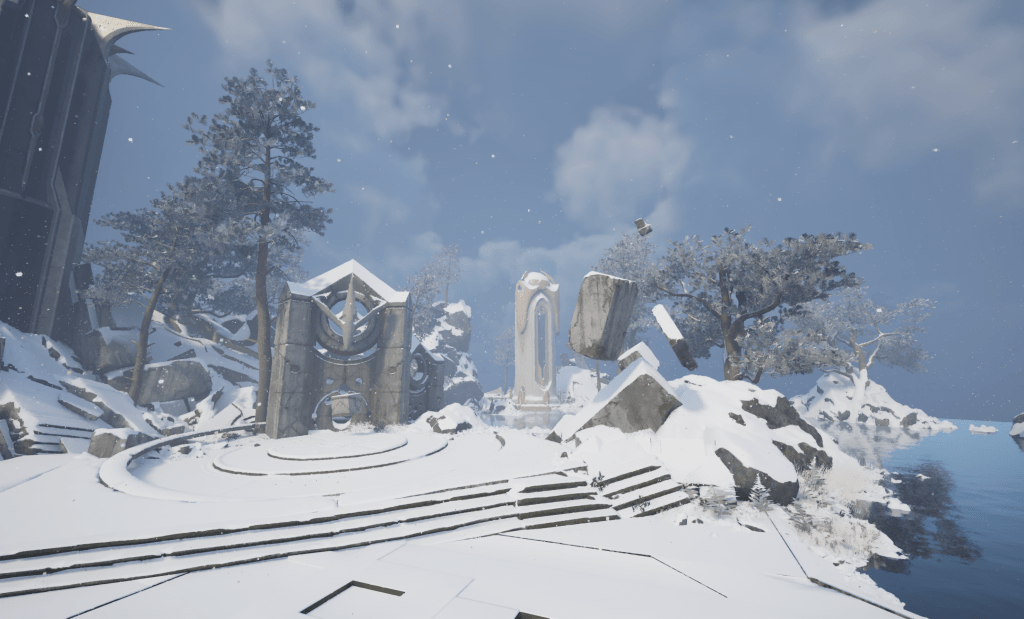
After rain was sorted, I wanted to create snow. Snowy levels are always super memorable to me in games and I wanted to recreate some of that atmosphere here.
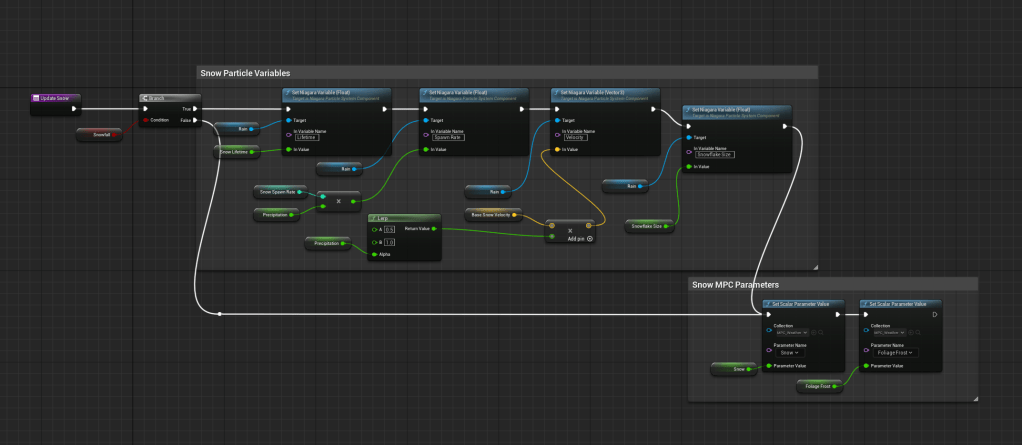
The snow is conceptually very similar to rain, it just falls slower and is more affected by the wind, which we’ll get to later. The material still has up normals but is rougher, lighter and masked as its moving much slower and a snowflake like shape should be visible.
Particles
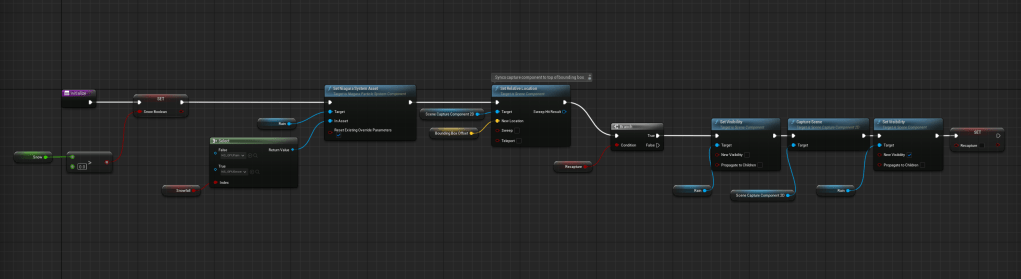
The first performance improvement step is to use GPU instanced particle system instead of a CPU particle system. This allows us to spawn a pretty huge amount of particles but we still need to consider how many are actually needed. We need to have the particles spawn only where they can be seen, so I have them spawn from a box that follows the camera around. This allows us to achieve good particle density (the important visual component) with a lower particle count (the important technical component).

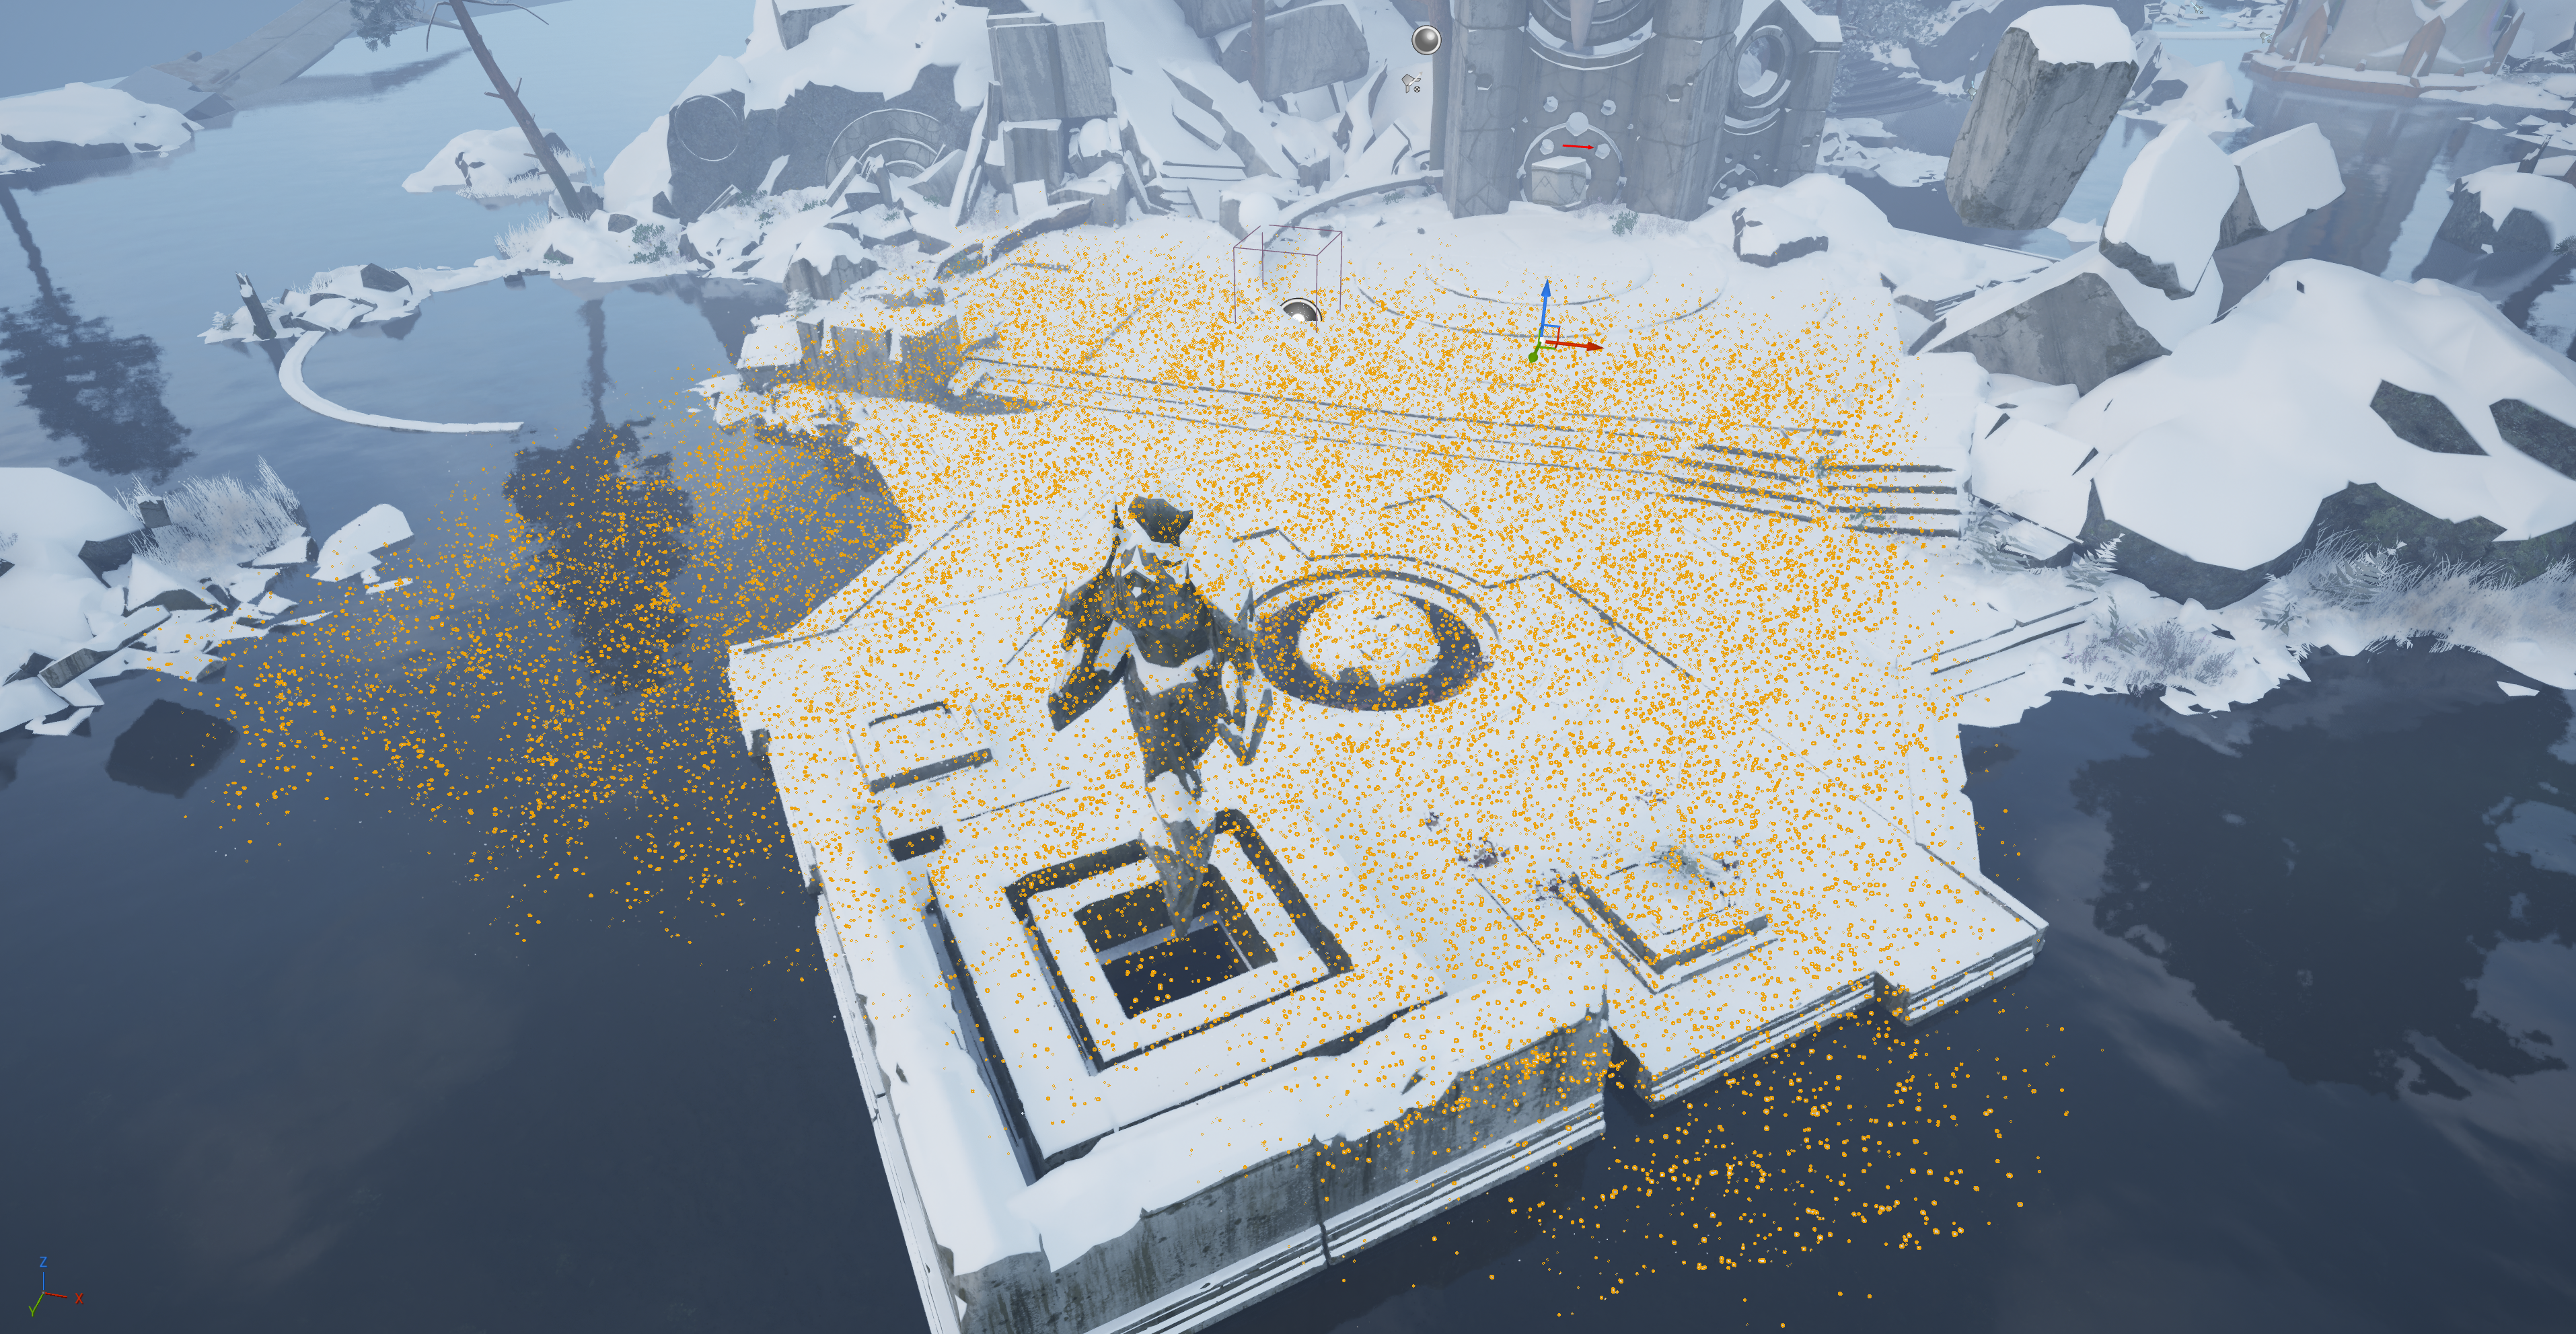
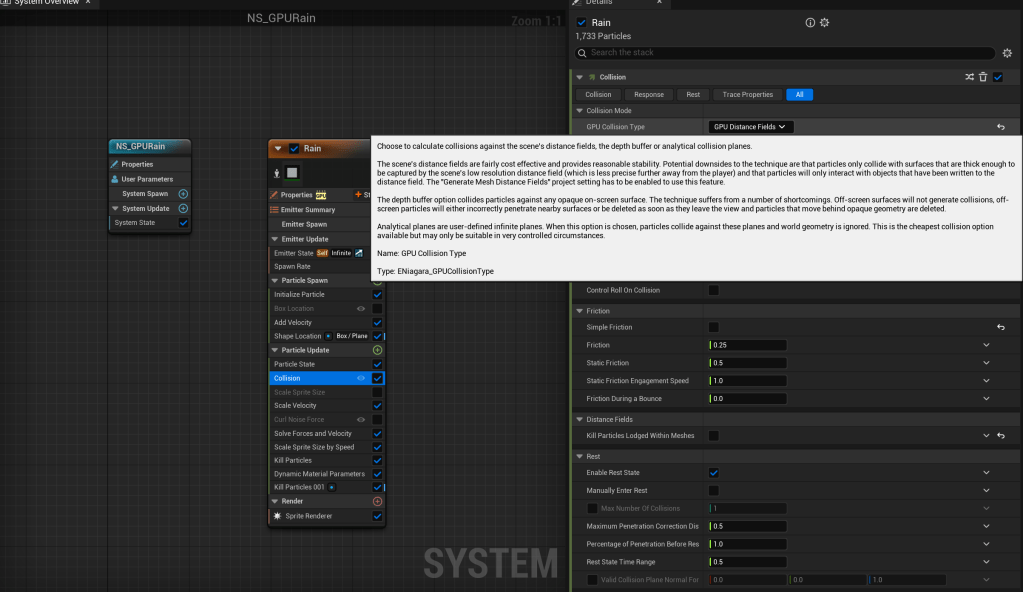
Another step with the actual particles is having them die when colliding with geometry. When I started this project in Unreal 4, it was considered an expense to get collision working. I originally had a camera facing down, writing its depth to a render target. This was read in the particle’s shader and the particle was culled if it exceeded that Z position. In Unreal 5 however, there is a better solution with mesh distance fields. In UE4 I didn’t want to use distance fields as they are relatively expensive to calculate and it is disabled by default. However in the world of UE5, mesh distance fields are required for Lumen anyway, so I thought I might as well use them here for a more elegant solution to killing particles on collision. This option is built into Niagara with the particle collision module. This was also ideal as the particles could be killed, clearing up GPU compute resources, instead of just being culled from rendering in the shader.
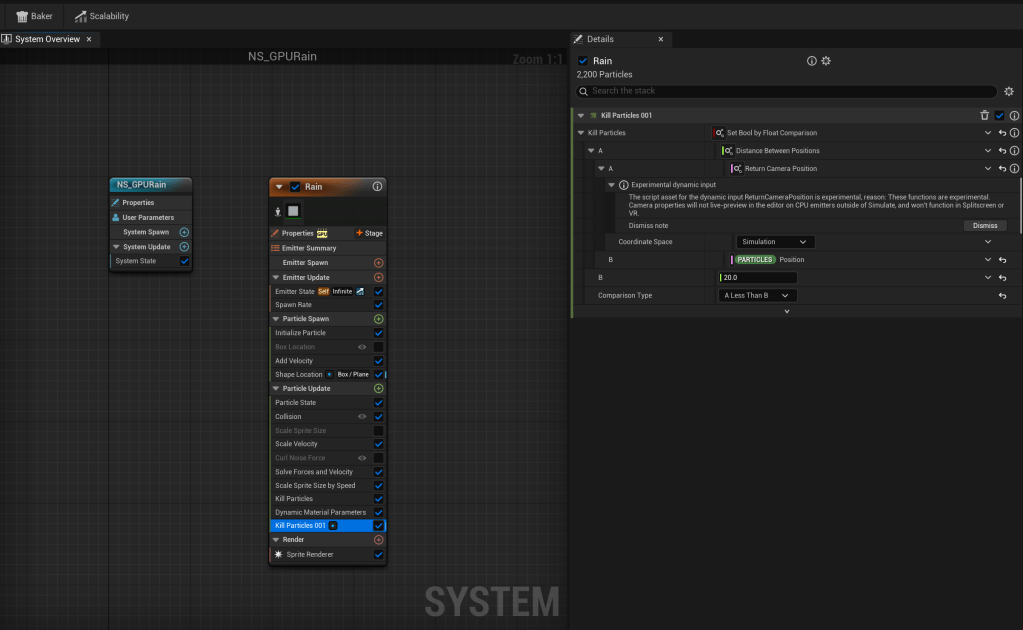
I added another particle kill module where they’re killed if they’re too close to the camera, this prevents huge looking raindrops from falling right in front of the camera.
Snow and Wetness
Over the past couple of years I had gotten a tremendous amount of use from material layers in Unreal. They’re chunks of material logic you can bolt onto the end of a material or material instance, and they can be slotted in with other material layers too. They can be attached as default to master materials so it’s picked up by all the instances with one change.
I created a main weather material layer called ML_Weather, this would effect the geometry of the scene with wetness or snow, depending on the conditions. A large part of the effect of rain is seeing how it affects the surfaces, especially with snow.

With the rainy conditions, setting the up facing surface roughness to a ‘water roughness’ value (defined by the user) does most of the required work.
With snowy conditions, the up facing surfaces are set to a snow colour, snow roughness, snow normal map and pushing the vertices up with WPO creates the effect of snow building up on the ground.
The blend material attributes node is a great tool that allowed me to create material attribute sets for each condition and blend them as appropriate.
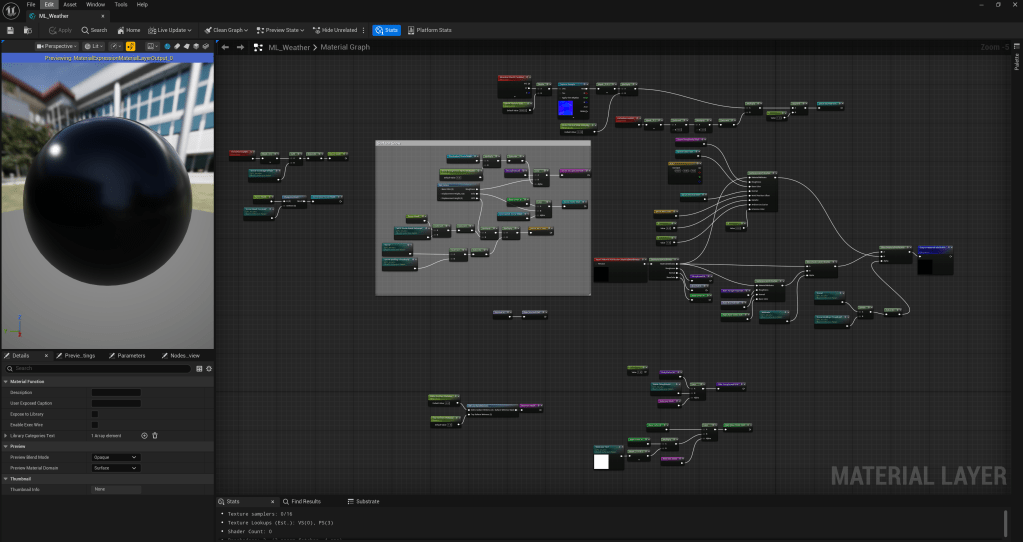
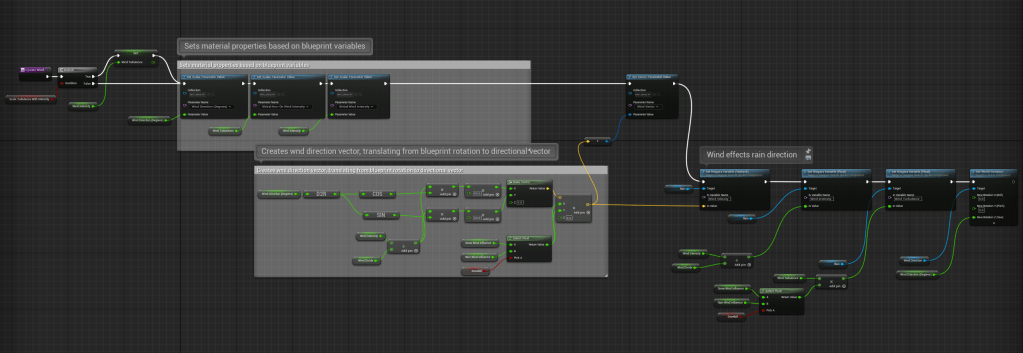
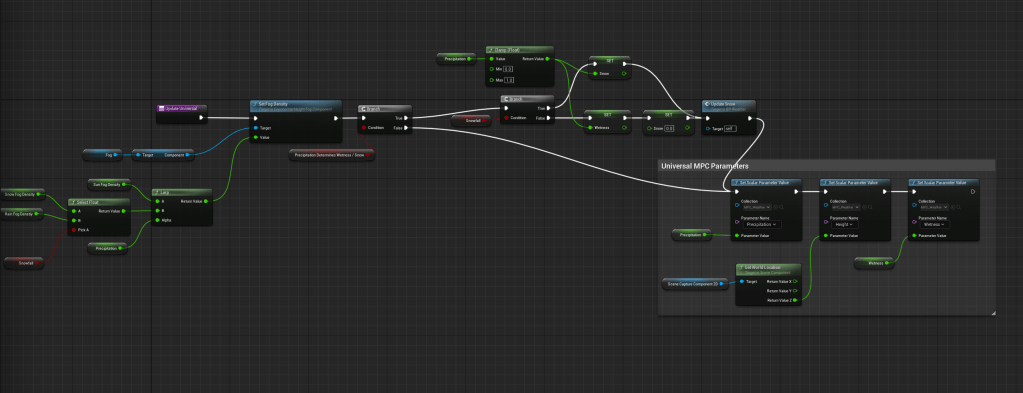
Most of the parameters in this material come from a material parameter collection. An MPC is a set of parameters that apply globally and can be changed at runtime to create dynamic material attributes that are global.

I used these extensively as I could easily drive them through the blueprint tool and an advanced user of the plugin could go in and change these parameter directly if desired.
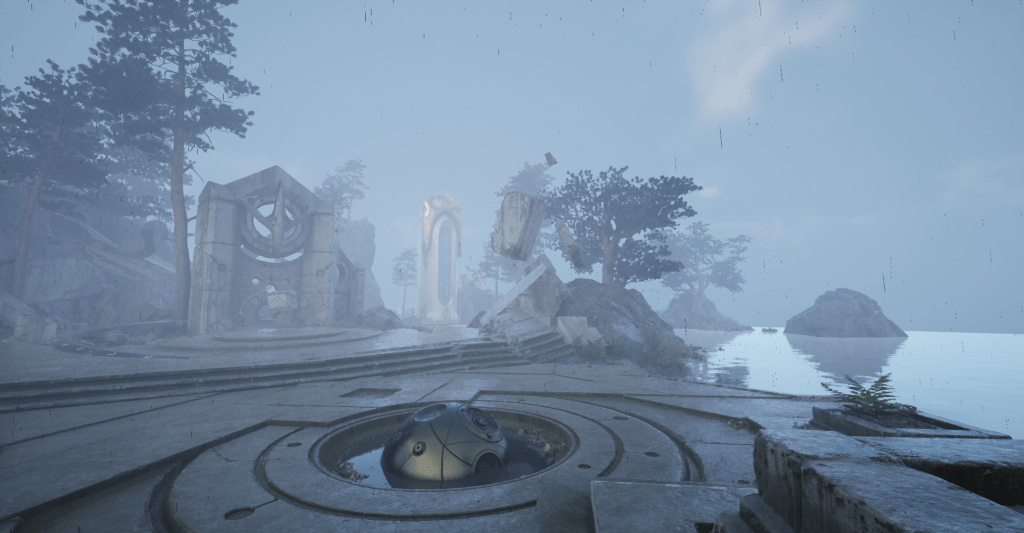
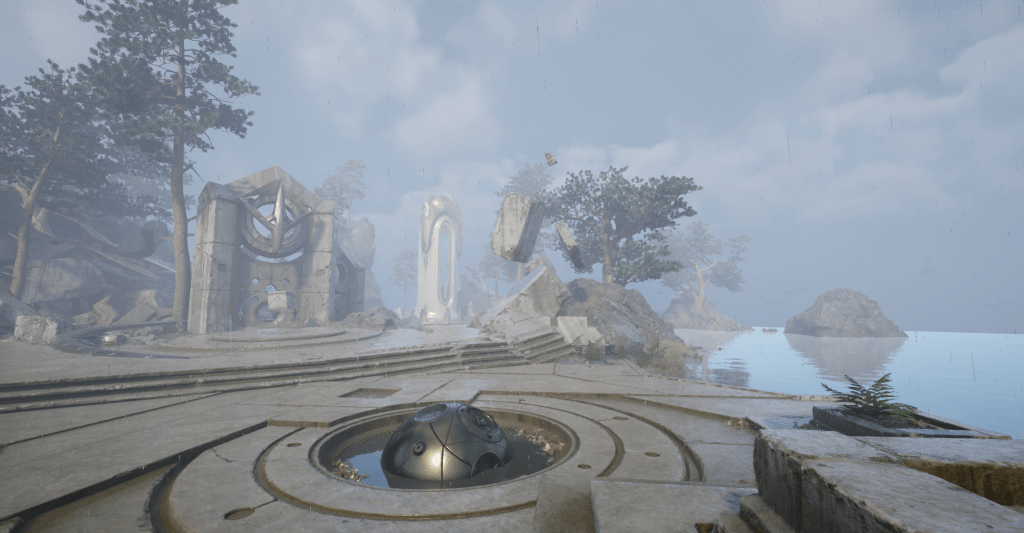
Puddles
Another important visual component was puddles, I decided to use decals as they give the user the most flexibility over placement and size. The decals flattens the normals, tints the base colour and uses the ‘water roughness’ parameter. The decal grows and shrinks with the rain.
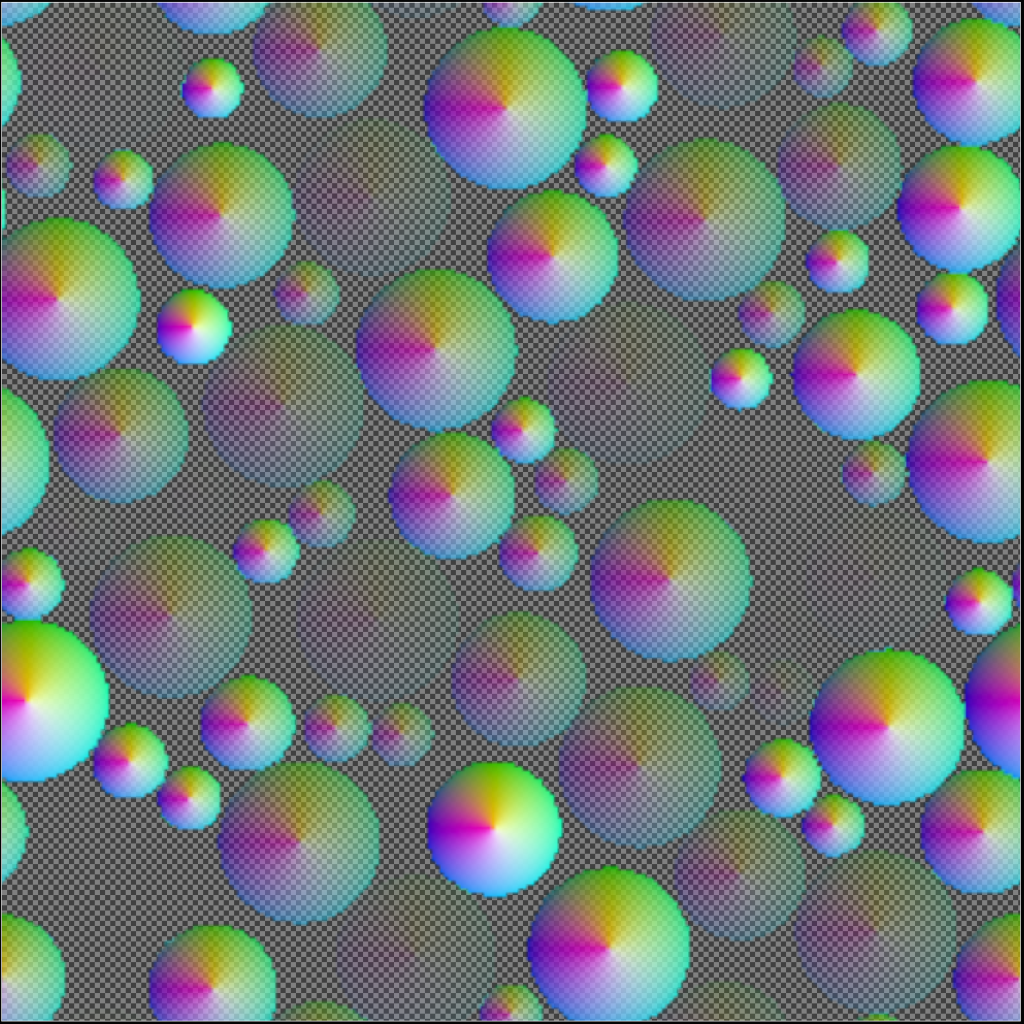
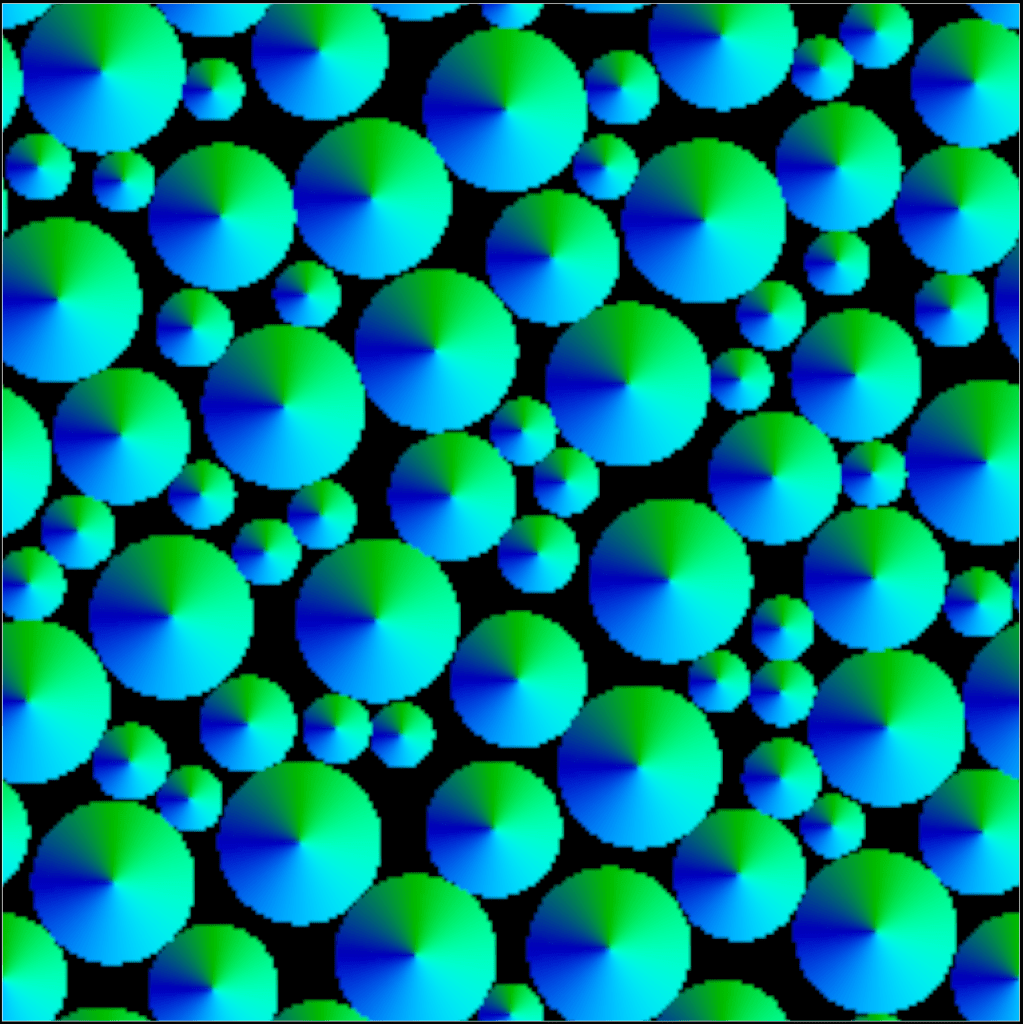
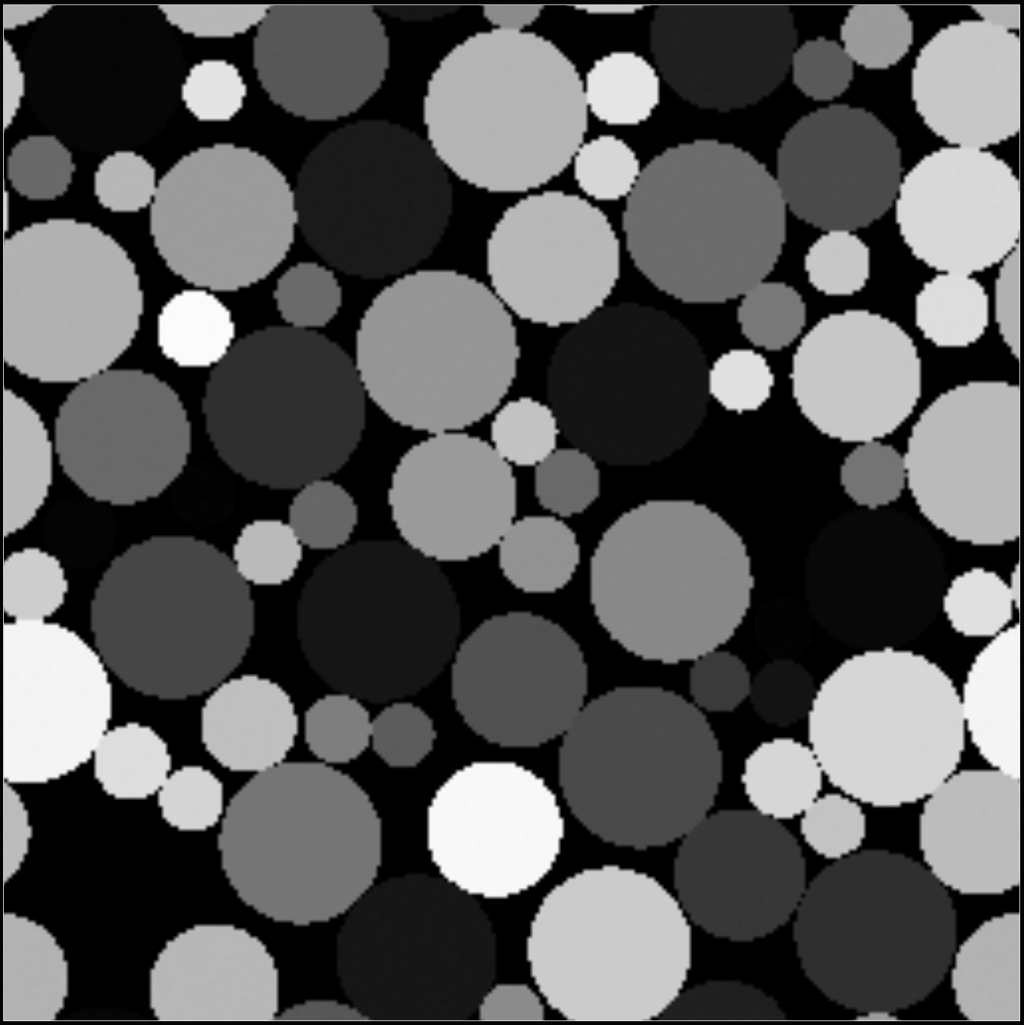
I also wanted ripples to appear on the puddle surface and have them available as a material function so they can be added to water materials. I created this texture to drive the ripple effect. The red channel uses radial gradients to define the gradient that the ripples will follow, the green and blue channels define the normal map for the ripples to effect the water with after being reconstructed into the red and green channels of the normal output. Finally, the alpha channel is used to offset the timing of the ripples.
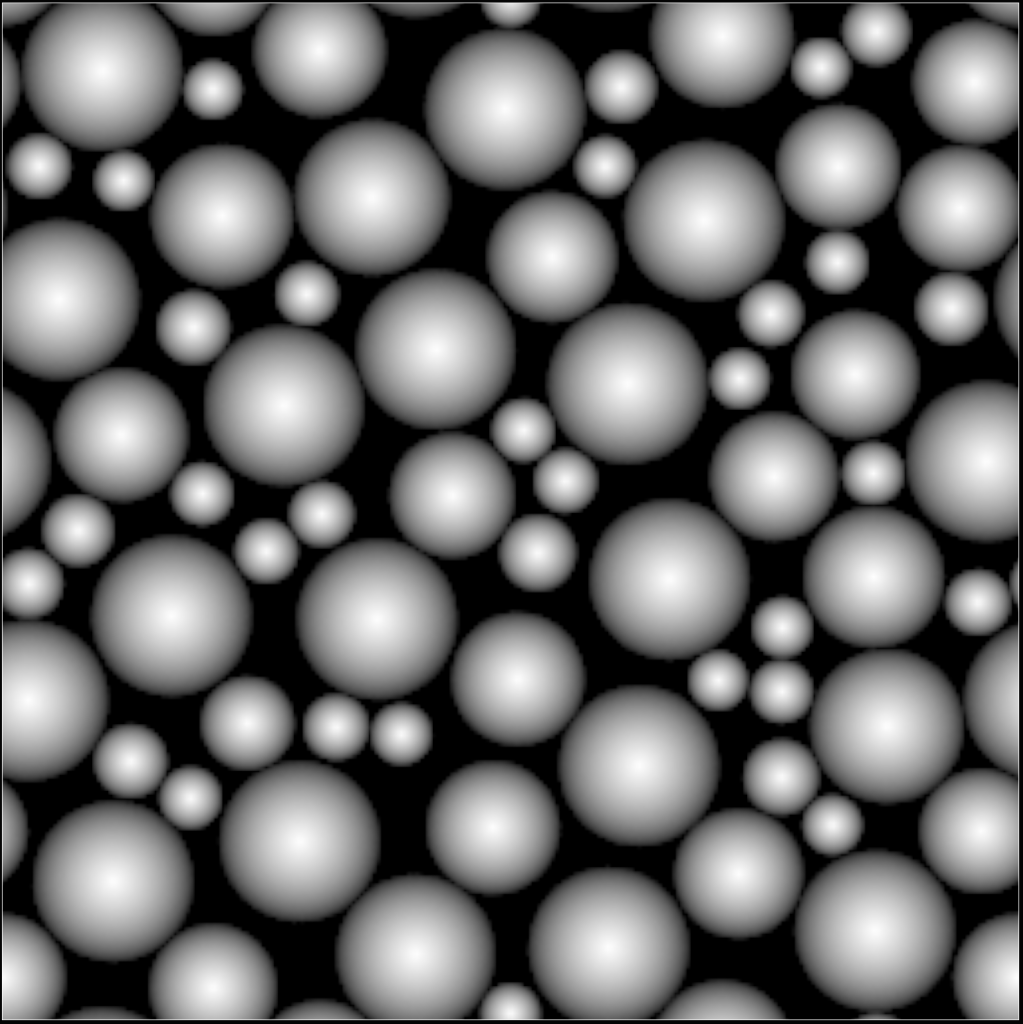
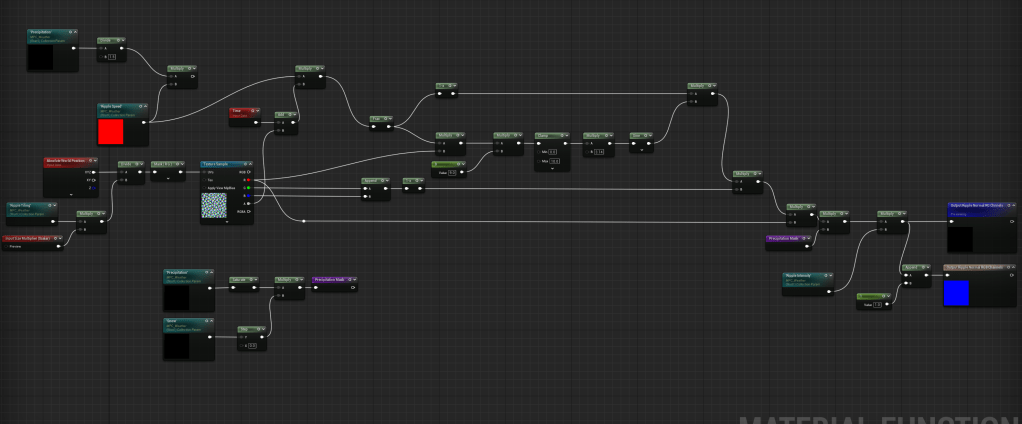
Ripples material function, uses the sine function on the radial gradients to create ripples over time, offset by the time offset alpha channel.
Wind
For the precipitation, wind was quite simple to implement. The direction, intensity and turbulence are defined in the bluerprint and passed through to the Niagara system. Directional wind effects the velocity and turbulence effects the curl noise force module, which applies a noisy random force to the particles.
Foliage wind is something I’ll be working on soon with this plugin, which will effect snow buildup in the foliage too.
Clouds
The clouds are in an early stage too. I’m using Unreal’s built in volumetric clouds with a custom material. My material uses a 2d texture to define large cloud shapes, and 3d noise to distort them randomly. These textures scroll and different rates (in the direction of the wind) to create clouds that move and morph across the sky. The cloud ‘bias’ is effected by the precipitation to make it more overcast with larger clouds when it is raining or snowing.
The exponential height fog is also effected by the weather, interpolating between different density values with dry weather, rain or snow.
Blueprint Tool
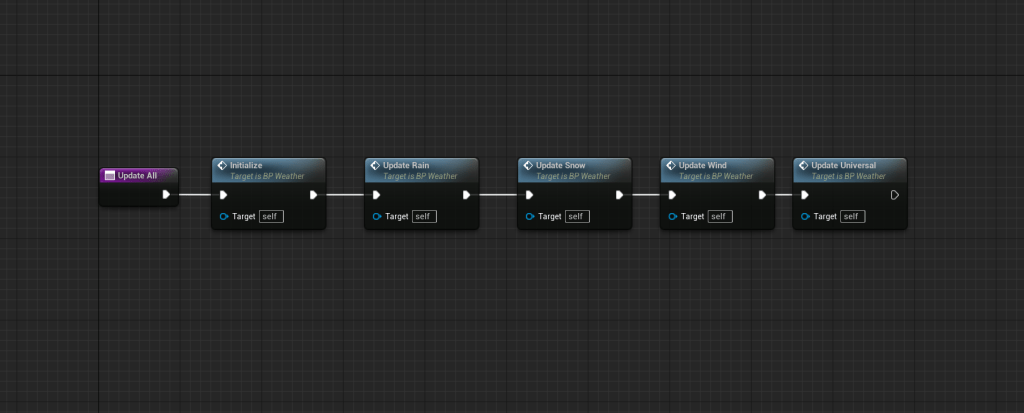
Managing all of these aspects and tying them all together is the weather manager blueprint, BP_Weather, it contains the precipitation particle system and references the clouds and fog actors in the scene. The parameters affect the Niagara user parameters and the parameters in the weather material parameter collection. So the user needs to drop this in the level, reference fog and clouds and attach the material layer to their master materials, then they can customise everything as they wish.
All of the functionality is called in the construction script, so when any change is made, the changes all propagate.
Future Work
It had been raining a lot while I was working on this and I constantly noticed many additions I could make. There is still loads to do with this plugin, and creating something this general, the work could go on forever. There’s definitely some important stuff missing though that I want to work on soon like foliage wind, frozen over water, layers of different cloud formations, misty rain blowing around and rain splashes on the ground.