Raymarching is a subject that has always fascinated me as it relies on completely different logic than traditional raster rendering. Objects are represented by signed distance functions (SDFs) instead of sets of mesh data.
A signed distance function is essentially a spatial gradient describing any point in space’s distance to the surface of an object. Each of these objects is represented by its own SDF.
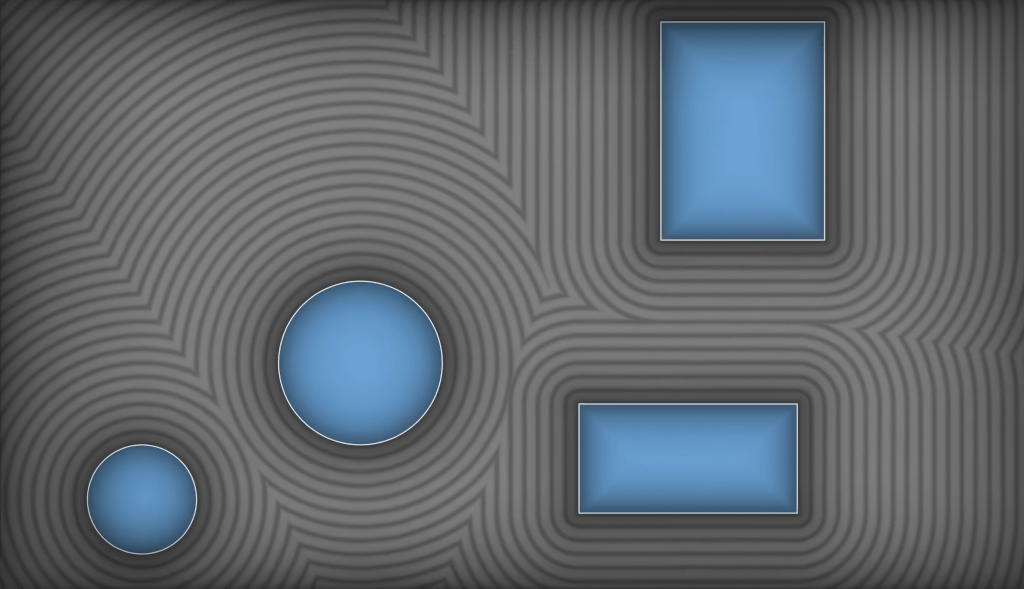
https://www.youtube.com/watch?v=BNZtUB7yhX4
Where a point is outside of an object, the distance is positive, where it is inside of an object, it is negative and where it is on the surface of an object, it is 0.
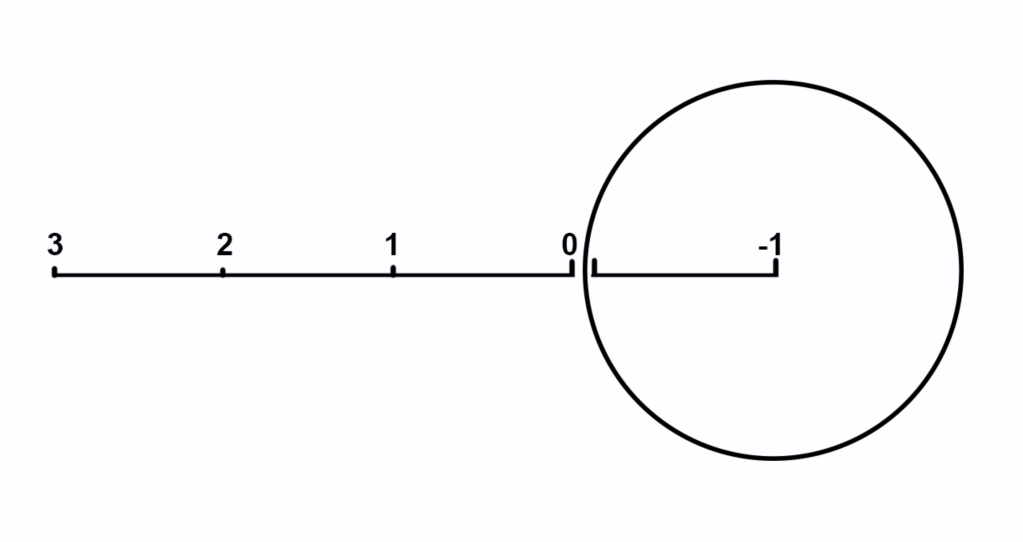
The fact that we get data from inside the object as well as outside tells us that these objects are volumetric, unlike hollow 3D meshes. This is why this technique is used to render volumetrics like clouds and smoke.
SDF of a Sphere
The distance between two points is calculated by length(a – b) where a and b are vectors representing our two points.
Raymarching 101 starts with rendering a sphere because the distance function for a sphere is one of the simplest, which is as follows:
length(p - spherePos) - r
p = position we are getting the distance for (point A)
spherePos = the location of the sphere at its center (point B)
r = radius of the sphere
We subtract the radius so that our returned distance is 0 at the surface of the sphere, and -r (-1 in our case) at the center.
Raymarching
Raymarching works by shooting rays (one per pixel) from the camera’s perspective and sampling the SDF along each one until it hits a surface. A surface is hit when the distance function returns a result close enough to 0.
This is the shader code for the basic sphere renderer, this code runs for every pixel on the screen.
float dO = 0;float dS = 0;//this loop is run for each point along the rayfor(int i = 0; i<maxSteps;i ++) { float3 p = ro + dO * rd; //creates the position along the ray to sample SDF from dS = length(p) - sphereRad; //distance function of the sphere dO += dS; //adds the current distance to the nearest surface to dO if(dS<surfDistance || dO>maxDistance) break; //breaks the loop if we hit a surface or go past the maximum distance}return step(dS, surfDistance); //returns 1 (white) if the distance is 0.01 or below, 0 (black) if otherwise
dO = current distance to nearest object
dS = current distance to nearest surface
p = current position along ray
rd = ray direction, determined by screen UV coordinates and view direction
ro = ray origin, the location where the ray begins, just behind the location of the camera
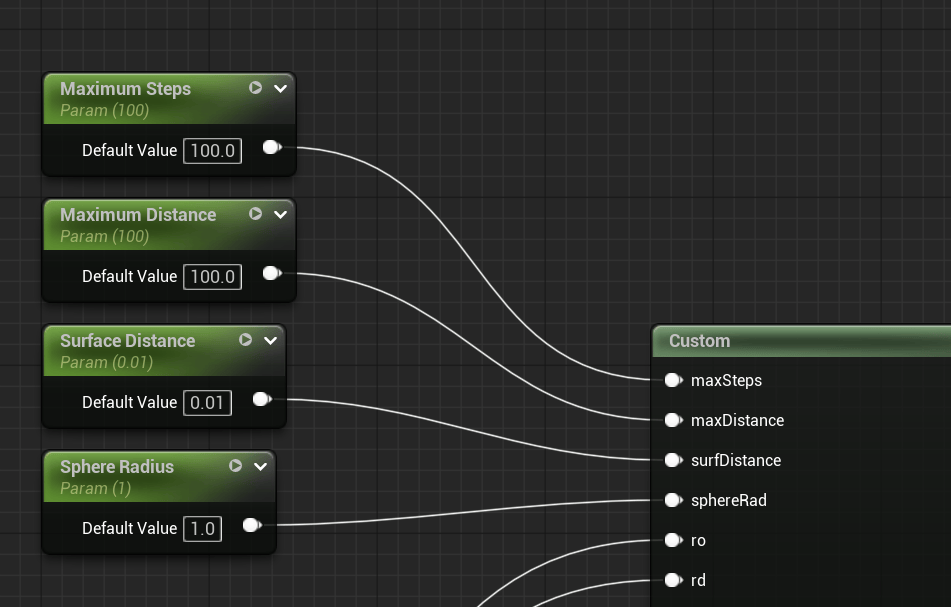
surfDistance = distance threshold for a ray to hit a surface, 0.01 in this case
maxDistance = the furthest distance a ray can go before the loop breaks
maxSteps = the maximum amount of steps a ray can take before the loop breaks
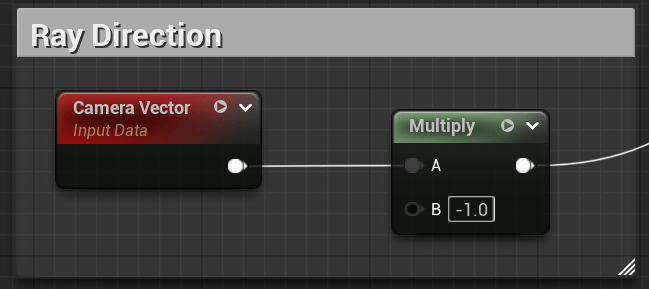
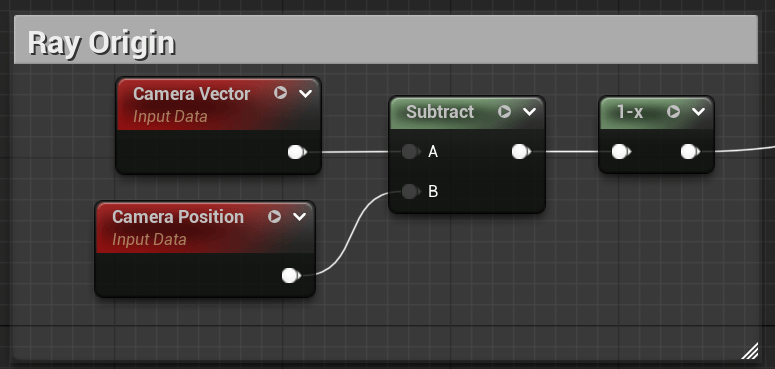
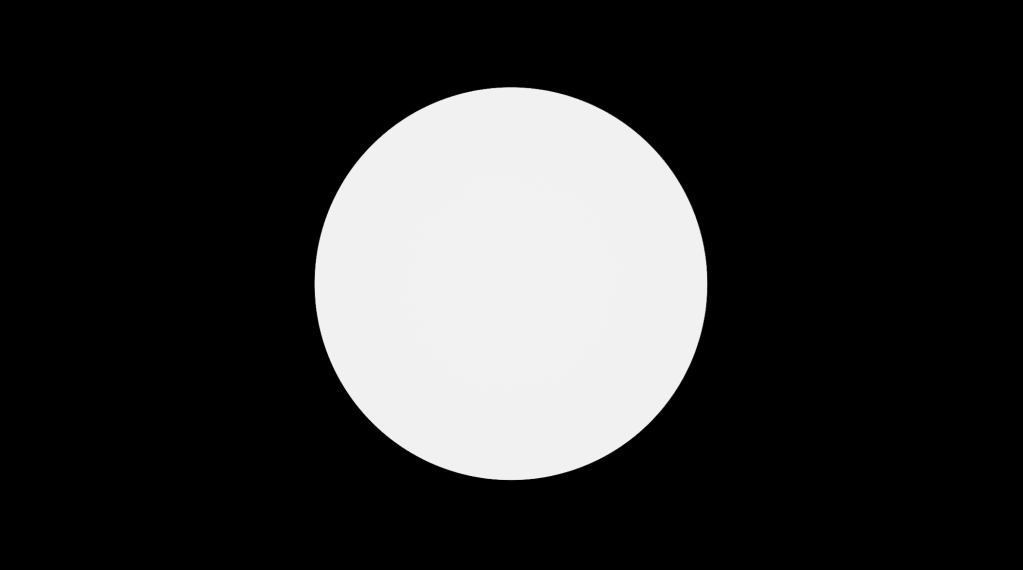
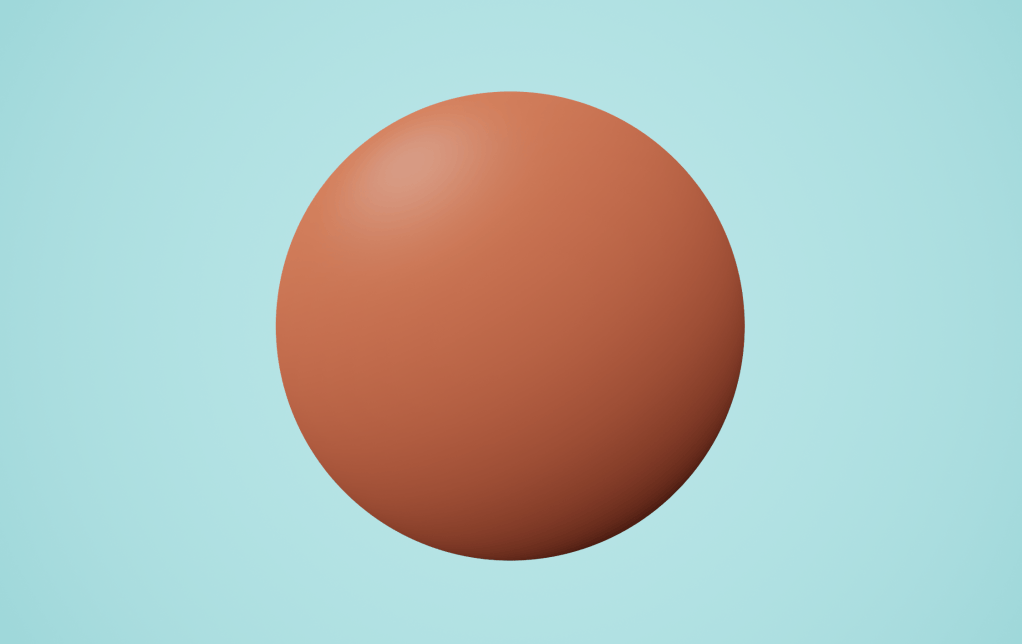
We have a sphere! It looks suspiciously like a circle right now but we can prove that its 3D by calculating its normals.
Normals and Lighting
We do this by calculating our distance with the regular function, then recalculating it 3 more times, with our position (p) offset a small amount in the X, Y and Z directions, and making a new vector3 from those. Subtracting the original distance calculation (dS) from this vector3 gives us a vector pointing outwards from that point. This is our resulting normal vector. This method works for any distance function or set of functions. There are cheaper ways to calculate normals for some primitives, but this method is universal.
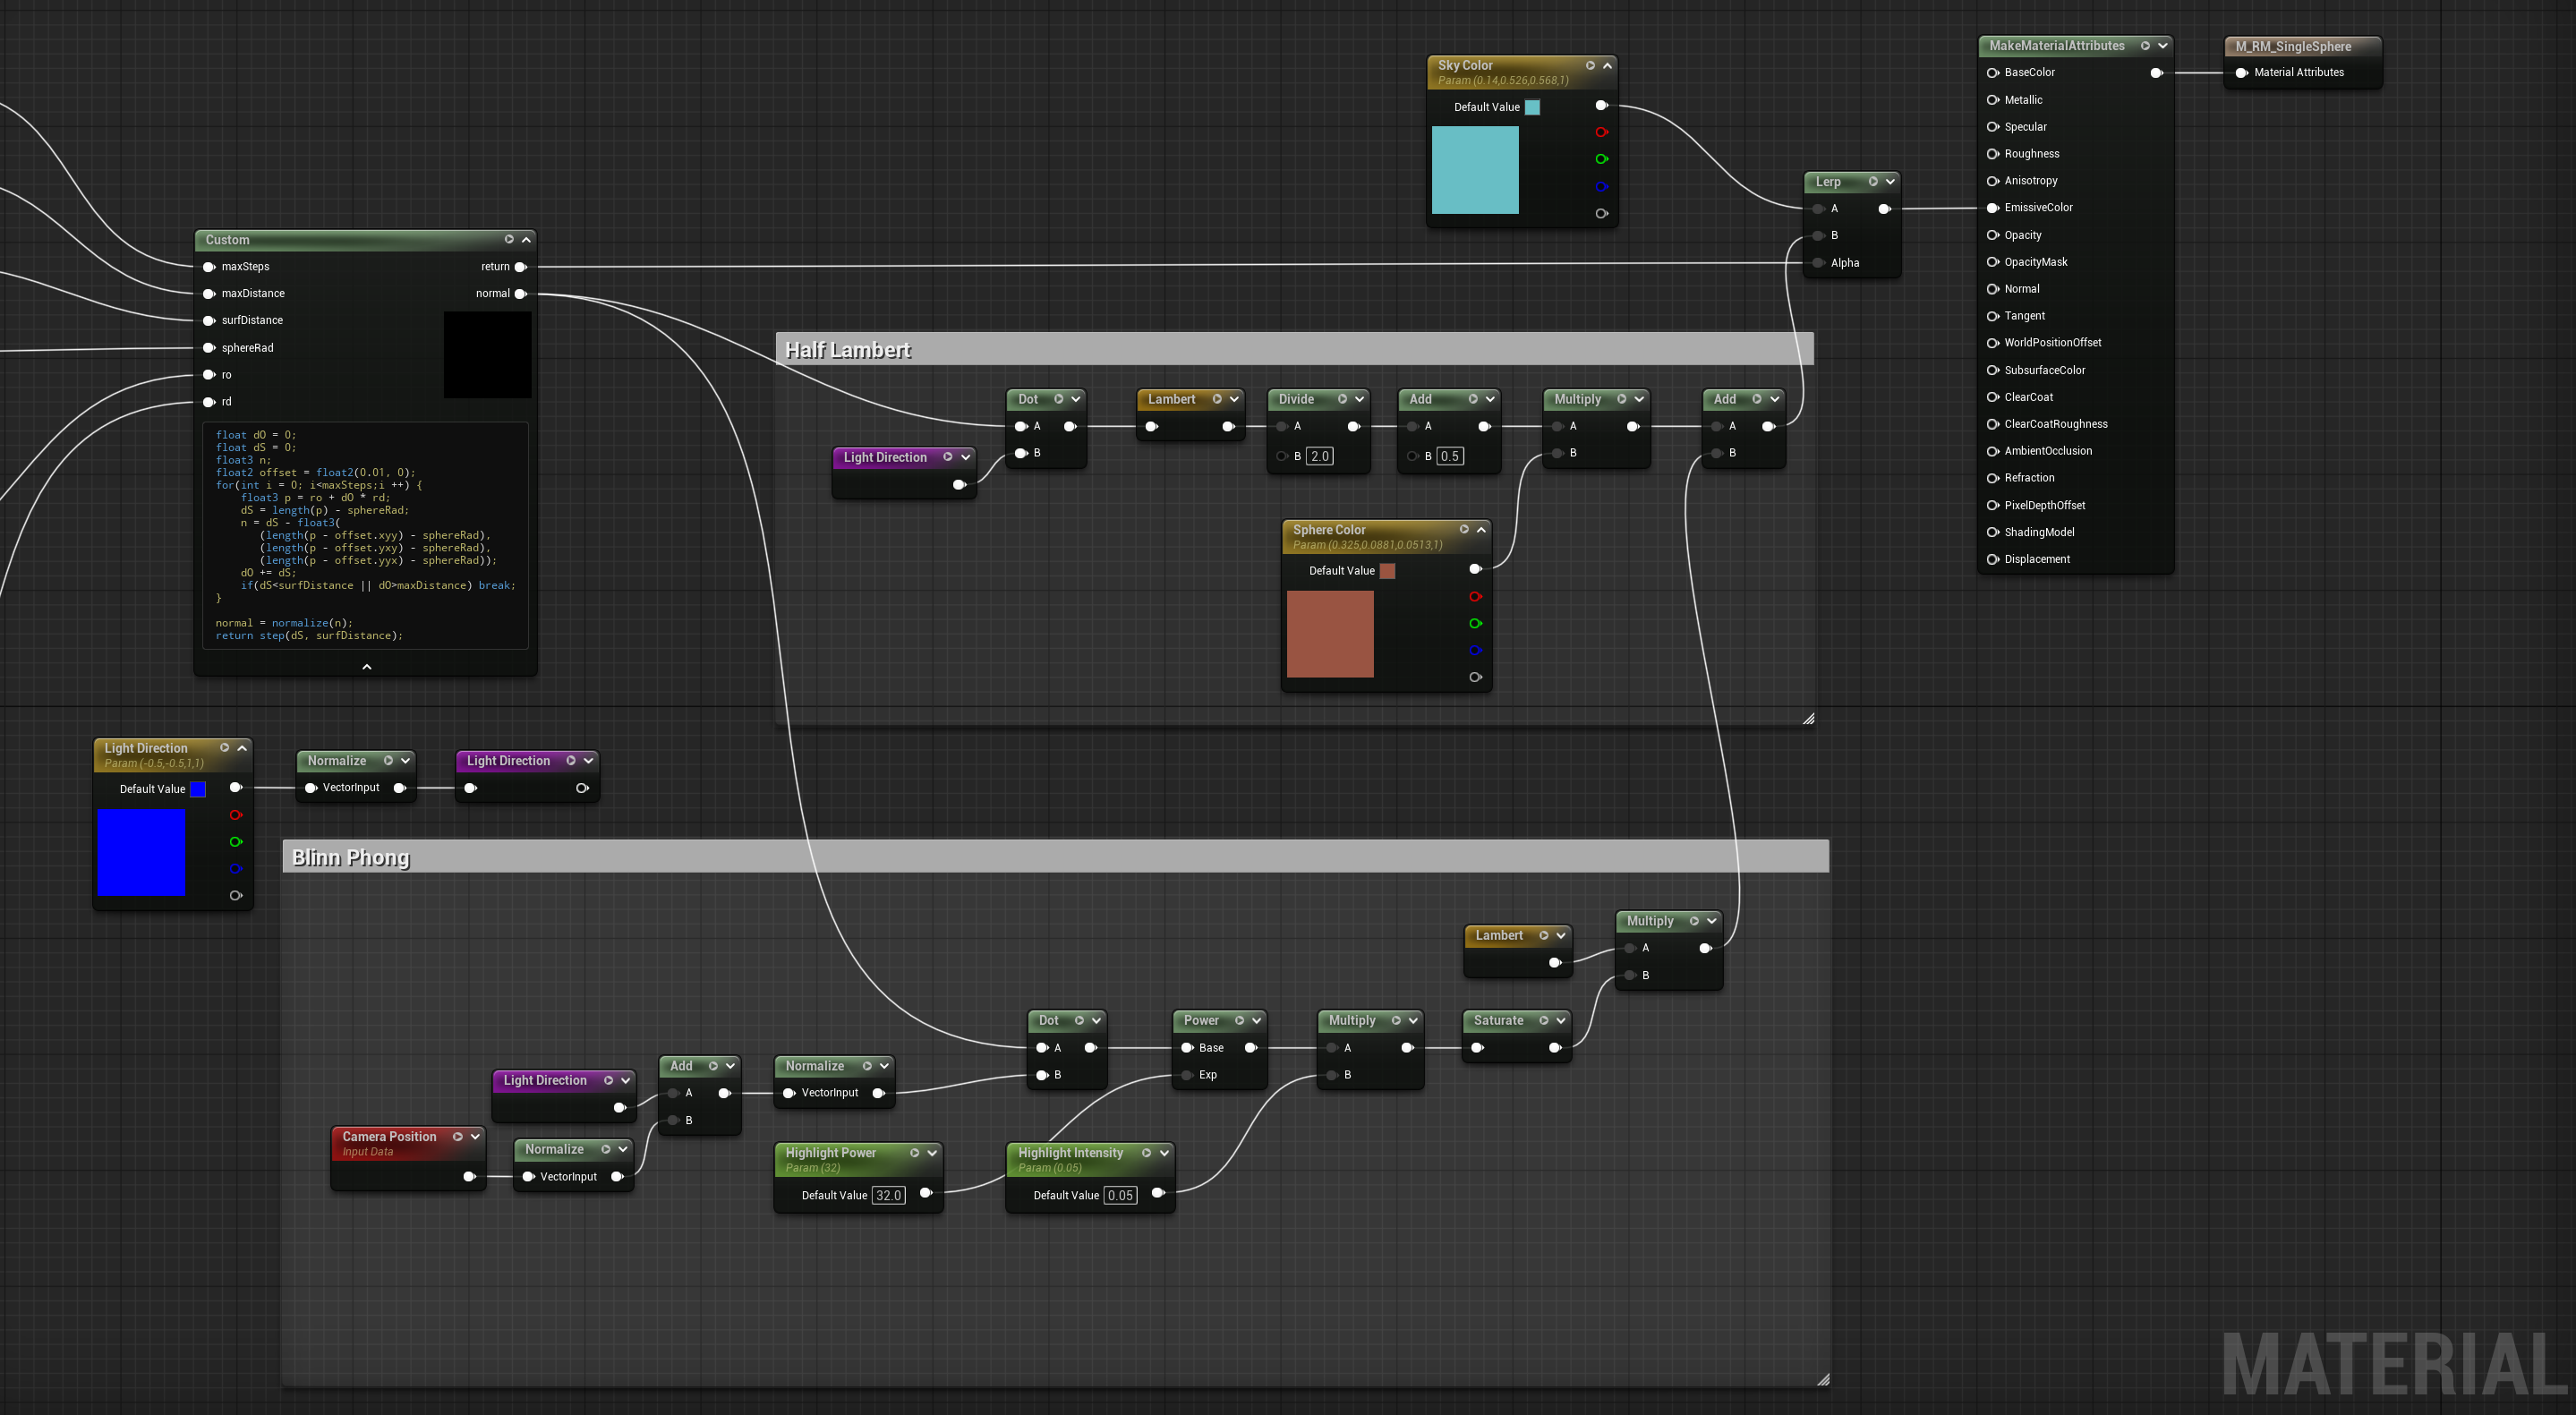
float dO = 0;float dS = 0;float3 n;float2 offset = float2(0.01, 0);for(int i = 0; i<maxSteps;i ++) { float3 p = ro + dO * rd; dS = length(p) - sphereRad; n = dS - float3( (length(p - offset.xyy) - sphereRad), (length(p - offset.yxy) - sphereRad), (length(p - offset.yyx) - sphereRad)); dO += dS; if(dS<surfDistance || dO>maxDistance) break;}float3 normal = normalize(n);return normal * step(dS, surfDistance);
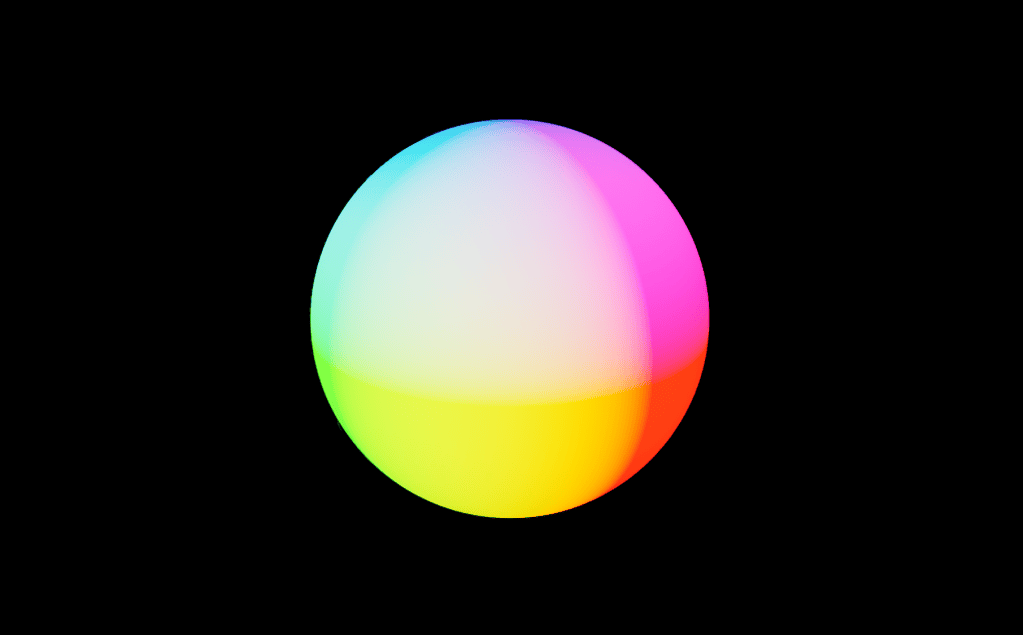
Now that we have normals, we can light our sphere. I like the valve’s half lambert for some simple primitive lighting, and a blinn-phong specular completes the look. I’ve used the stepped distance result to mask the sphere from the background as well.
Other shapes
Now that we’ve successfully rendered a sphere, we can replace our sphere SDF in our raymarcher and render other shapes like cubes, cones, toruses and more. We only have to swap out our sphere SDF for one of another shape and set up the input parameters for that shape.
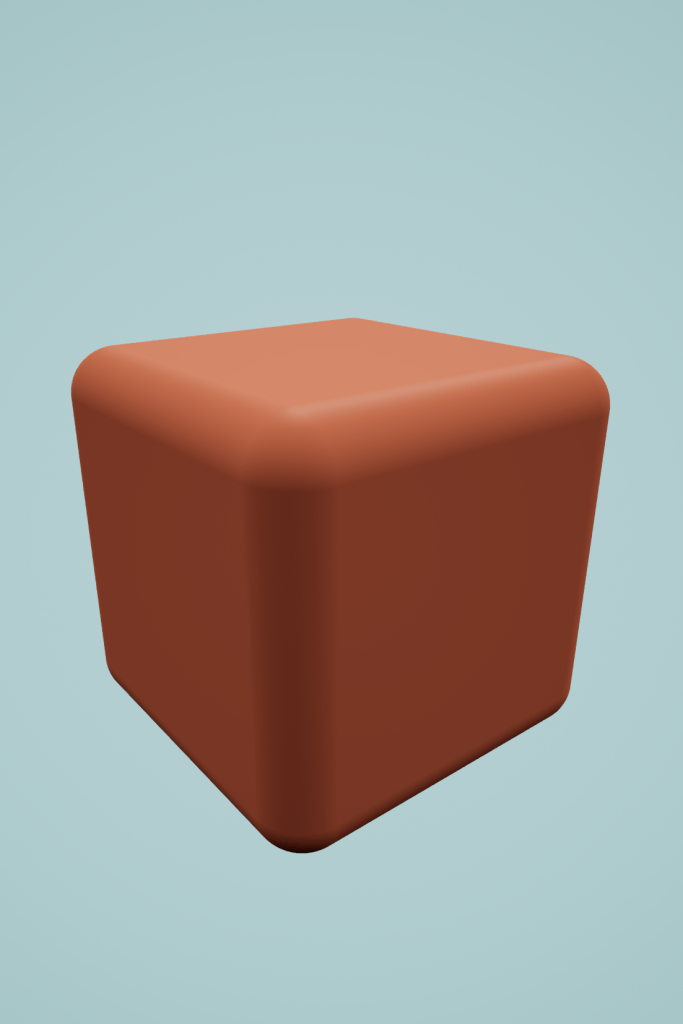
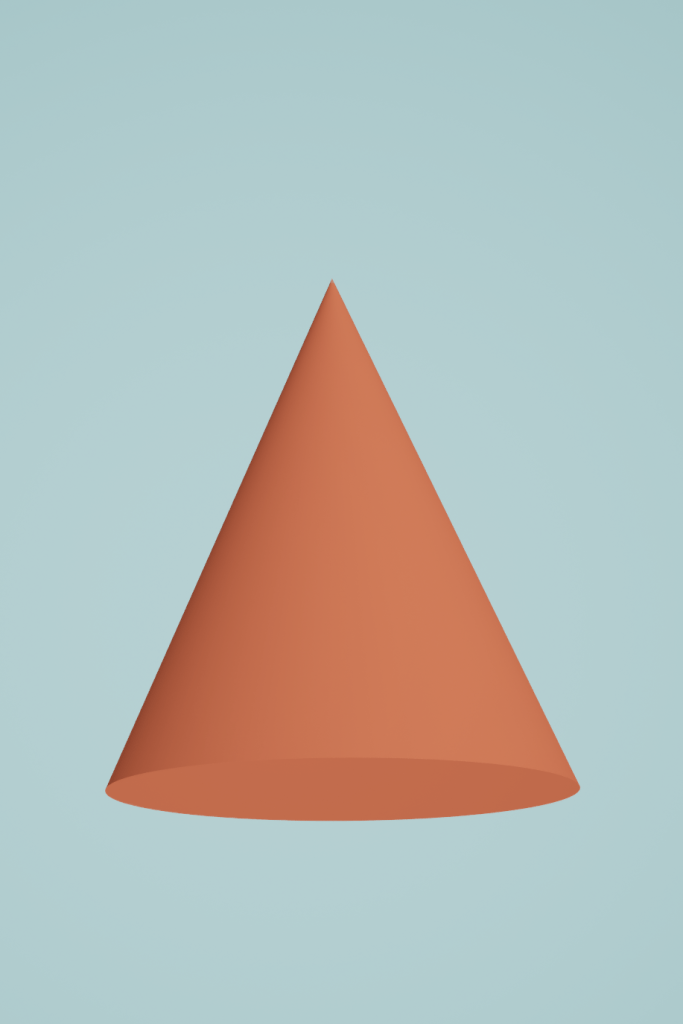
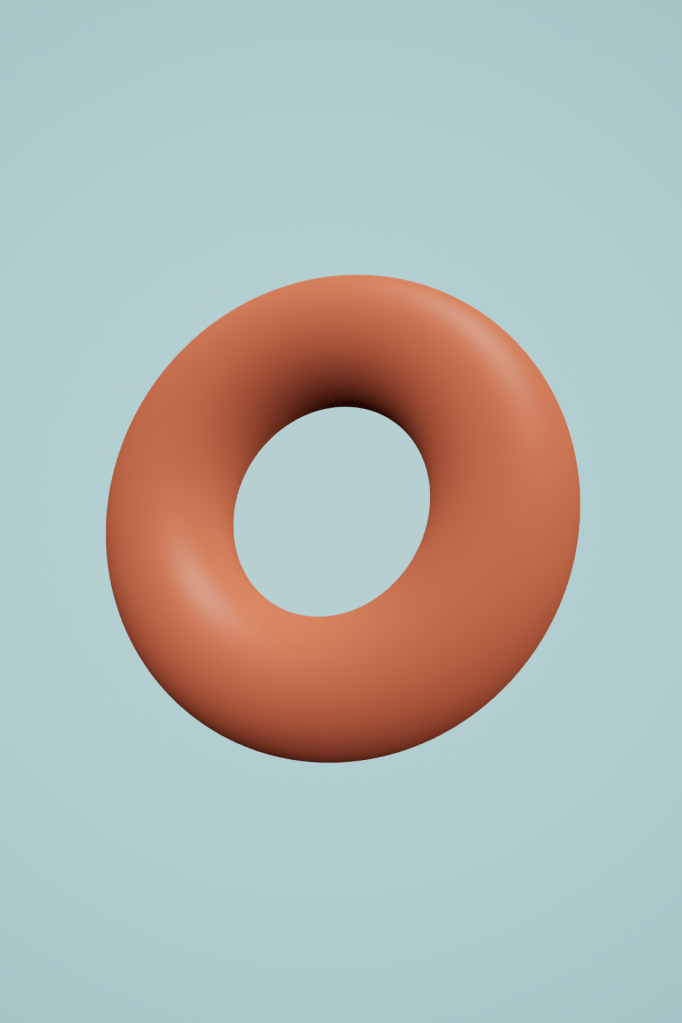
I’m using the Unreal material graph for this shader, so I’m using custom HLSL nodes. I can create different nodes for each shape’s SDF, and call that function from my main raymarcher custom node. I just swap in which function I need and configure the inputs for it. I’m using generically named parameters temporarily so I don’t have to create new ones for each shape.
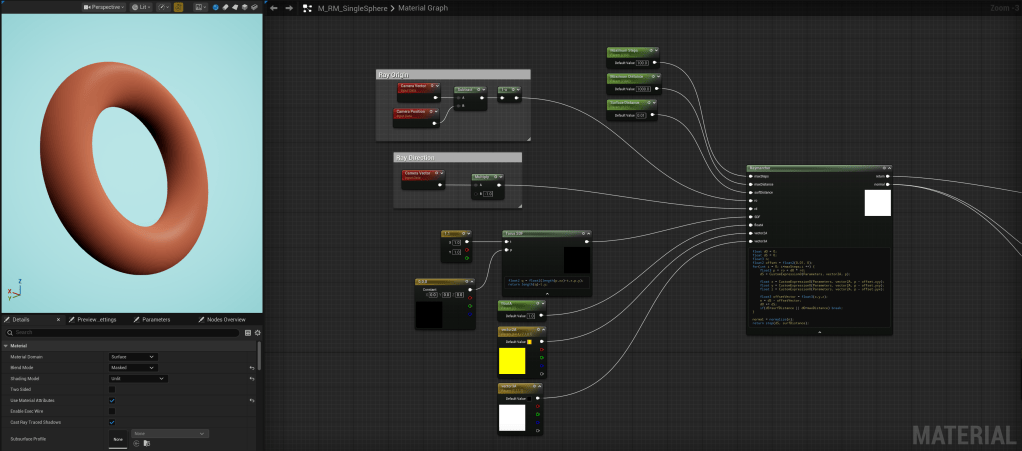
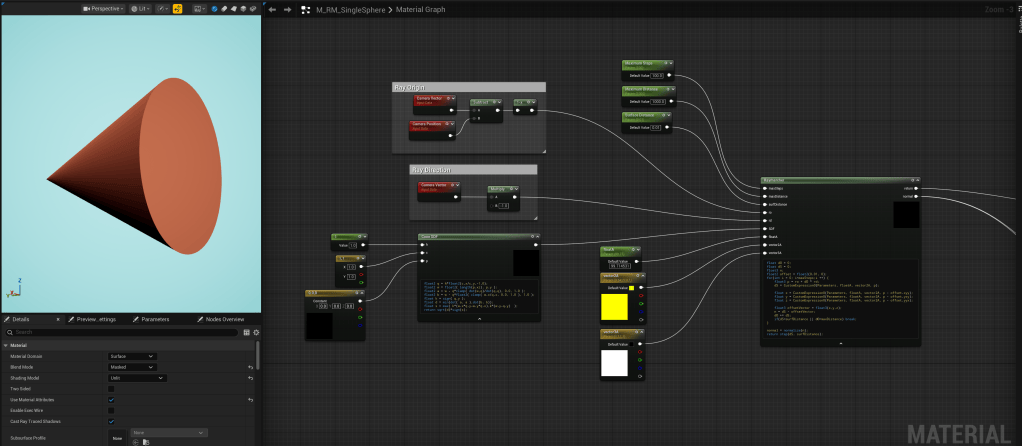
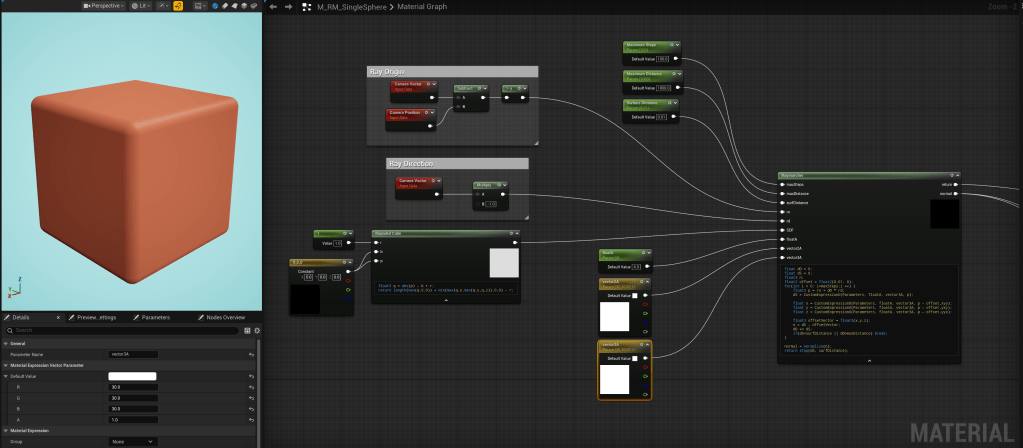
A list of shape SDFs can be found at https://iquilezles.org/articles/distfunctions/
Combining Shapes
One of the magical things about SDFs, is that they can be combined together smoothly to create new shapes using boolean operators. The 3 basic operators we can use are union, intersect and subtract.
Union
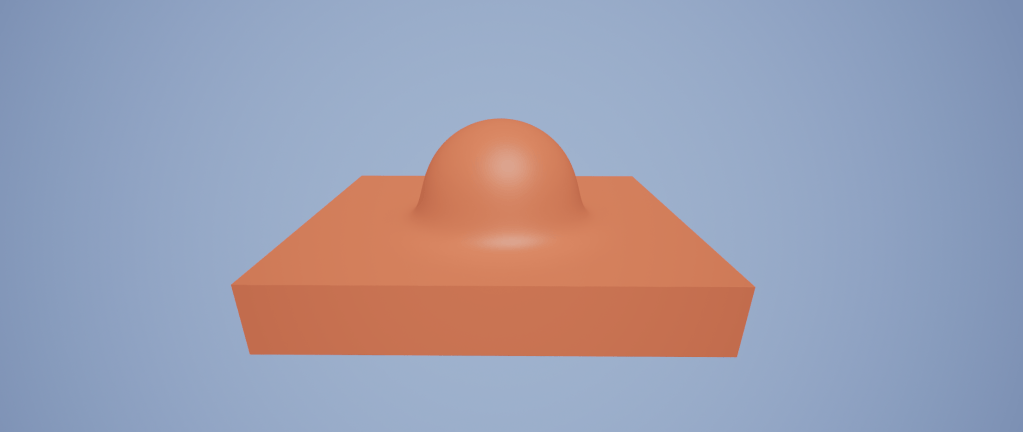
Union simply combines the shapes together. It is achieved by taking the min of the two SDFs you want to combine. To blend them smoothly we use a function called smoothmin, which has a blending coefficient K that represents the smoothness of the blend.
This works because min will output the smallest of the two results from each function at any given point, and as the inside of our SDFs return negative values, the lowest value at a point will be one where one of our shapes exists. So both shapes are present in the result of the operation.
//unionmin(float a, float b);smoothMin(float a, float b, float k);
//smoothmin functionk *= 16.0/3.0;float h = max( k-abs(a-b), 0.0 )/k;return min(a,b) - h*h*h*(4.0-h)*k*(1.0/16.0);
Intersection

Intersection does the opposite, it leaves the space where the shapes overlap. This is done with the max function and is smoothed with smoothmax.
This works for the same reason min works for union. Max outputs the higher of the two functions, so the positive value in the empty space of one SDF will negate the negative value (filled space) of the other. Where they overlap is where there are only negative values to be chosen by the max function, so it remains as filled space.
//intersectionmax(float a, float b);smoothMax(float a, float b, float k);
//smoothmax functionk *= 4.0;float h = max(k-abs(a-b),0.0);return max(a, b) + h*h*0.25/k;
Subtract
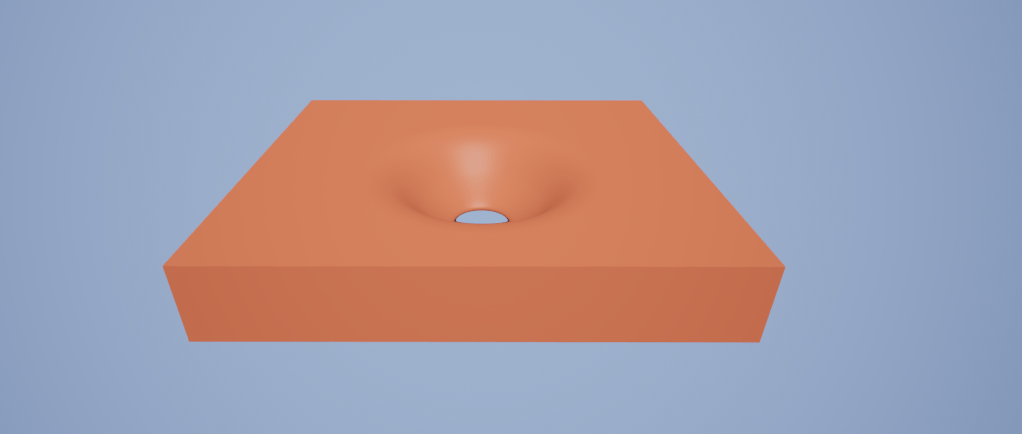
Subtract will take shape B and cut it into shape A, this is done by making A negative and using the max or smoothmax function again.
//subtractmax(float -a, float b);smoothMax(float -a, float b, float k);
Next Steps
This is as far as I’ve gotten with this project so far. I plan on doing much more with raymarching in the near future including rendering volumetric clouds and infinite terrains.

